Showing posts with label box. Show all posts

Wednesday, October 31, 2012

Craft Obsession: Halloween!


There's nothing quite like Halloween- costumes, fall, pumpkins, and lots and lots of candy. So to celebrate my favorite holiday I'm bringing you a craft obsession post that is strictly Halloween themed!!

A really easy and simple way to make DIY decorations is just to buy wooden bases at your local craft store. I purchased these adorable coffin boxes for my niece and nephew, a "Happy Halloween" wooden cut out, and a hanging pumpkin! All from Michaels!
We all know my favorite craft paint is Martha Stewart's so I stocked up on some great halloween colors!
(when you open the coffin boxes they scream "Muahahaha"- I know, awesome)

(First time trying pearlescent paint- awesome)


The coffins I layered with the Martha Stewart Paint- as always, make sure you the boxes stay open until the paint dries so that they aren't sealed such (it got a little annoying- the boxes wouldn't stop making spooky sounds). 
I used White Tulip Puffy paint to make the slightly dimensional skeletons and FolkArt glow-in-the dark paint to outline some of the details. 


For the "Happy Halloween" sign I just used an array of paints and patterns!


Finally, I covered the hanging pumpkin in scrapbook paper using Mod-Podge and painted on a cute little pumpkin face! 


And everyone's favorite Halloween craft: pumpkins! Although this year I opted for painting instead of carving- and made it "Happy Autumn" so I could keep it out all season!


And here are some of my favorite Halloween pictures- brought to you by instagram :)
HAPPY HALLOWEEN EVERYONE!!!!


 I just love dogs in costumes...

^Buddy
and Samson Puppington. 

Some of my favorite Halloween (and just because) Costumes...

 Ginny Weasley (Samson Puppington went as Sirius Black):

 Zombie Apocalypse:


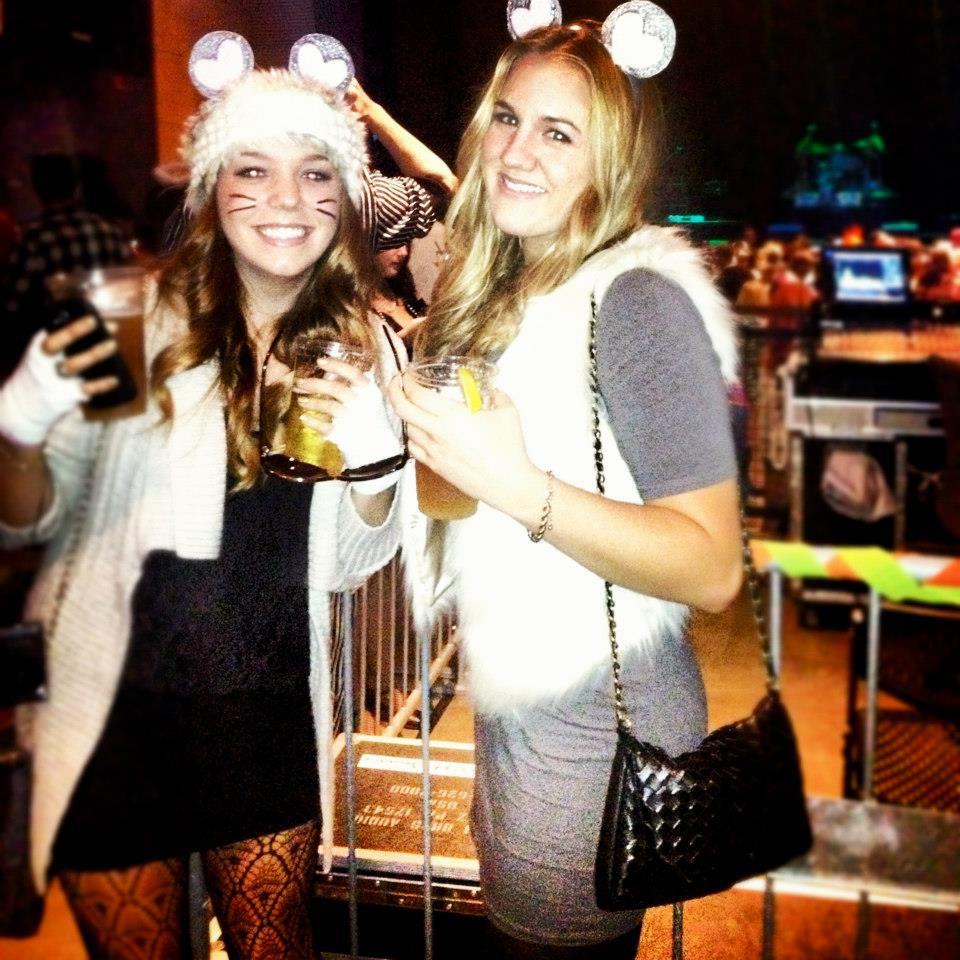
  3 Blind Mice:


 Special Edition Pink Cinderella (I was that cool) & a 50s waitress:


Raggedy Ann: 


  Scarlet O'Hara:


Power Rangers:


Ke$ha & Miley Cyrus:


Beanie Babies (I was the deer):


 HAPPY HALLOWEEN!!!!!!


Friday, September 21, 2012

Little Boxes


Are you automatically singing the little boxes song in your head now? I know I was the entire time I was making these. (don't know what I'm talking about?  just watch an episode of weeds or listen here, it's addicting.)

Anyway, cute little boxes are the perfect way to snazz up a tiny gift! For my mother's last birthday we got her a charm bracelet and instead of having one jewelry box to open I places a charm in each little box.


Supplies: 
-craft/ scrapbook paper (mine is from a paris-themed pack I found at Joanns)
-scissors
-glue/ glue stick/ glue dots
-pencil
-ruler
-printer
-embellishments (stickers, ribbons, flowers, glitter, whatever)

Step One: Print out a box template. You can find them in pretty much any size or shape by simply googling "box template". You can print out a different template for every size and shape or you can just adjust one using a ruler (which is what I did). Here's a great little jewelry box template: link
Cut out the template.

Step Two: Trace the template onto the backside of the scrapbook paper. I'm awful with strait lines so I always use a ruler as well. If you want to extend the sides of the box so that it is taller just add the same amount of space to each side of the box. A taller box will have the same size lid. Make a box larger by creating a larger inner square. You then must increase the lid the same amount as well (for an easier solution to a bigger box, just print the template larger).
*Try mix & match paper patterns for bottoms and lids! The great thing about buying paper packs is that they usually contain the same pattern in different colors. 

Step Three: Cut the box out of the craft paper. Fold along the four sides of the inner square and the tabs. Really make the folds crisp by laying them on a flat surface and pressing along the fold with the ruler. Glue along a tabs to connect each of the sides and do the same for the lid. Do not place the lid on top of the box (no matter how tempting) until the glue is completely dry. 

Step Four: Put the presents inside the boxes with some cute tissues paper, close em up and decorate! Ribbons and bows are always great for presents but you can also use stickers, glitter, cloth embellishments, buttons, flowers, stamps, twine, more paper- the skies the limit.

Check out my finished birthday boxes below!