Wednesday, October 31, 2012

Craft Obsession: Halloween!


There's nothing quite like Halloween- costumes, fall, pumpkins, and lots and lots of candy. So to celebrate my favorite holiday I'm bringing you a craft obsession post that is strictly Halloween themed!!

A really easy and simple way to make DIY decorations is just to buy wooden bases at your local craft store. I purchased these adorable coffin boxes for my niece and nephew, a "Happy Halloween" wooden cut out, and a hanging pumpkin! All from Michaels!
We all know my favorite craft paint is Martha Stewart's so I stocked up on some great halloween colors!
(when you open the coffin boxes they scream "Muahahaha"- I know, awesome)

(First time trying pearlescent paint- awesome)


The coffins I layered with the Martha Stewart Paint- as always, make sure you the boxes stay open until the paint dries so that they aren't sealed such (it got a little annoying- the boxes wouldn't stop making spooky sounds). 
I used White Tulip Puffy paint to make the slightly dimensional skeletons and FolkArt glow-in-the dark paint to outline some of the details. 


For the "Happy Halloween" sign I just used an array of paints and patterns!


Finally, I covered the hanging pumpkin in scrapbook paper using Mod-Podge and painted on a cute little pumpkin face! 


And everyone's favorite Halloween craft: pumpkins! Although this year I opted for painting instead of carving- and made it "Happy Autumn" so I could keep it out all season!


And here are some of my favorite Halloween pictures- brought to you by instagram :)
HAPPY HALLOWEEN EVERYONE!!!!


 I just love dogs in costumes...

^Buddy
and Samson Puppington. 

Some of my favorite Halloween (and just because) Costumes...

 Ginny Weasley (Samson Puppington went as Sirius Black):

 Zombie Apocalypse:


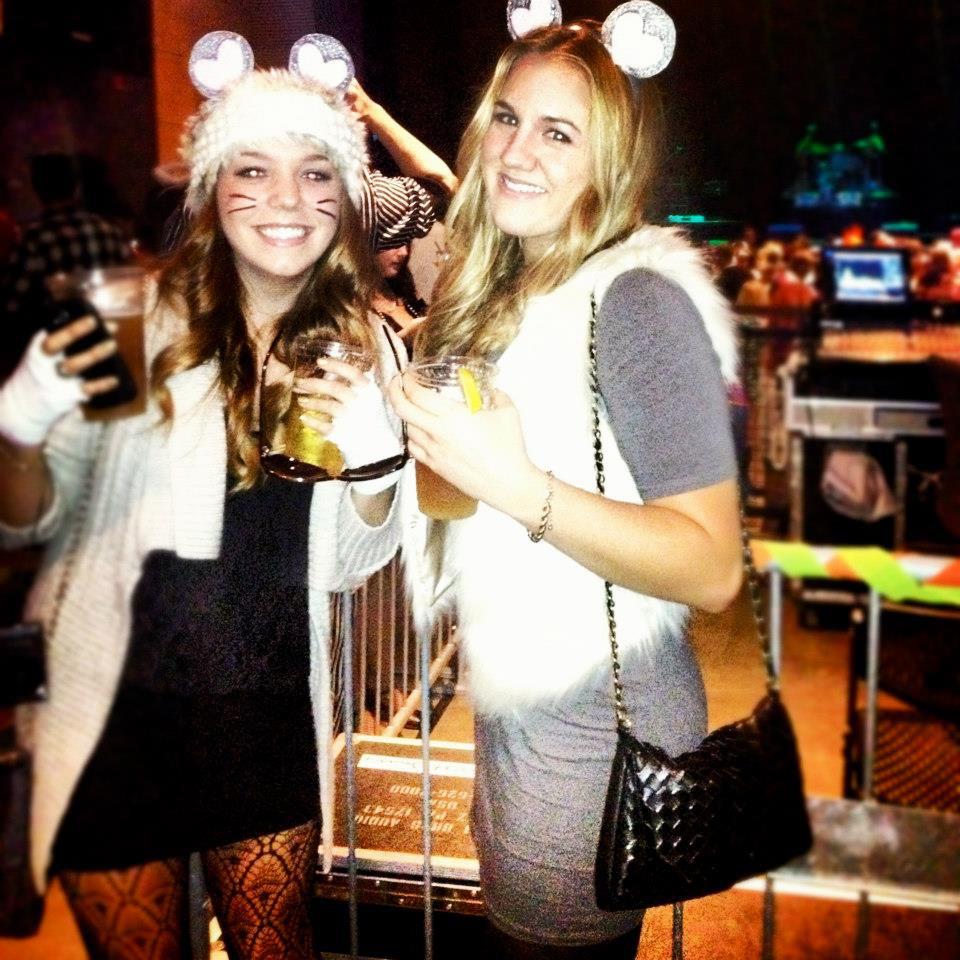
  3 Blind Mice:


 Special Edition Pink Cinderella (I was that cool) & a 50s waitress:


Raggedy Ann: 


  Scarlet O'Hara:


Power Rangers:


Ke$ha & Miley Cyrus:


Beanie Babies (I was the deer):


 HAPPY HALLOWEEN!!!!!!


Tuesday, October 30, 2012

The Ultimate Pumpkin Spice Bundt Cake


I am about to share with you the recipe for the most scrumptious, delicious, sinfully amazing pumpkin spice bundt cake of all time... and it's super easy! When I say easy I mean really REALLY easy. So get baking because I know you will love this cake as much as I do and it's perfect for halloween, thanksgiving, or general autumn yummy pumpkin cravings (which I have a lot of).

What you need
-A box of spice cake (I used good old Betty Crocker)
-1 can of cream cheese frosting (also Betty brand)
-1/4 cup Vegetable Oil
-2 Eggs
-2 cups Sugar
-1 small can (14-15oz) of Pumpkin Puree/ Pumpkin Pie filling (the brand I used was called Libby's)

Baking your cake:

Step One:
-Preheat Oven to 350 F

Step Two:
-Mix in large bowl: spice cake mix, 2 eggs, 1/4 cup veg oil, 2 cups sugar, and pumpkin puree. I used a beater on medium for about 2 minutes. Mix until well blended. 

Step Three:
-Grease your bundt pan and then pour batter into pan. 

Step Four: 
-Bake the cake for 25-30 minutes or until a toothpick inserted into the center comes out clean. You want the cake to be moist so check your cake at 25 and every 5 minutes following. 
-Let your cake cool!

Decorating your cake:

Step One: 
-Empty frosting from canister into a microwaveable bowl. 

Step Two:
-Microwave for 8-10 seconds or until frosting is liquified. Be careful- frosting will start to burn if it's microwaved too long! If 10 seconds is not enough, stir the frosting before continuing to microwave.

Step Three:
-Add optional food coloring- I split my frosting into two bowls and made two shades of orange.

Step Four:
-Using a spoon or spatula, drizzle the frosting around the cake. Warning: it will get everywhere so have your cake on a plate to catch the frosting! 
-If the frosting begins to harden or becomes difficult to drizzle just pop it back into the microwave for 4/5 seconds!


Step Five:
-Make optional cake toppers- These are just halloween stickers & ribbon on wooden sticks! 


Happy Baking!! 


DIY Nail Polish

I own a lot of nail polish.. and I mean a lot. If you know anything about nail polish you know it can get pricey.. $8 for Essie or OPI is standard but you can expect to pay upwards of $14 for brand name polish (my new weakness is butter london). So what's a girl to do to save money and appease her crave for new polish? Make it herself!
It's super simple and uses things you probably have sitting around the house right now.

Supplies
-Clear nail polish (fyi level 1 rewards at ulta includes nailpolish... so I cashed in a level 3 for 3 bottles of clear... I love free polish!!)
-Eyeshadow
-butter knife
-paper

Step One:
Gather up all of your old eyeshadow.. those kits with 100+ colors that you would never wear are great. Expiration doesn't matter!

Remove shadow from container and crush into a fine, loose powder. Try mixing colors or shadow!


Step Two:
Empty a little bit of clear polish from the bottle to make room.


Create a funnel out of paper and slowly pour the eyeshadow powder into the polish bottle. You may have to stop and shake a few times. The more powder, the denser the color. 


Shake Shake Shake! Until all powder is mixed in with the polish.


Step Three:
Name your color, make a pretty label, and paint your nails! Makes a great personalized gift as well!

I love the depth and shimmer you get from using nail polish (ignore my slopping painting skills)!


Monday, October 15, 2012

Chai Frappuccino Cupcakes


For my Aunt's recent birthday I decided to make her favorite Starbucks specialty- Chai Frappuccinos- in the form of cupcakes!!
These adorable deserts can be made two ways- the 'Vanilla Chai' way or the 'Chai Spice' way. I chose Vanilla Chai for this batch for a milder, sweater taste.
Makes 24 cupcakes!

Ingredients:
-1 box French Vanilla Cake mix (for vanilla chai)
OR
-1 box Spice Cake mix (for chai spice)
-1 can heavy vanilla frosting
-powdered chai tea mix (I used oregon chai, found at local grocery store)
-Any ingredients needed for the box cake mix (in my case 3 eggs and a quarter cup of oil)
-Cupcake liners & pan
-Ground Cinnamon 

Supplies:
-green Starbucks straws (about 8 for 24 cupcakes)
-Starbucks hot/cold sleeves (atleast 24)
-Stapler & staples
-Scissors
-Ruler

Step One:
Bake you cupcakes!
Follow the instructions on the box for ingredients and amounts.
When adding dry ingredients, also add 4 tablespoons of powdered chai mix.
Make sure all ingredients are well blended (I beat batter on high for about 3 minutes).
Bake cupcakes as box instructs and let cool completely in pan (mine took around 30 mins total).

Step Two:
Mix your icing.
(This step is optional)
For an extra burst of chai flavor mix powdered chai into icing!
Approx. 1.5 tablespoons for an entire can of frosting. Blend well!

Step Three:
Make cupcake sleeves!
Cut straight lines across sleeves using ruler & scissors.

Undo the glue that holds the sleeve together. Then measure around the cupcake and staple sleeve where  it will fit around the cupcake bottom. Trim excess cardboard. Make sure the bottom of the sleeve is nice and even- the cupcake will rock if it's not! 


Place completely cooled cupcakes into sleeves.

Step Four:
Decorate!
Using a pastry bag (or a plastic baggie with the corner cut off) ice the cupcakes started on the outside brim and circling inward. This will make the icing look like whipped cream!
Top icing with ground cinnamon (a little goes a long way). 

Cut green Starbucks straws into thirds and place one straw in each cupcake.


Enjoy!


Monday, October 1, 2012

Craft Obsession: Martha Stewart Paint


So for this weeks craft obsession I bring you Martha Stewart. The goddess of craft herself has her own line of craft, baking, and party decoration supplies. I'll admit I think that it's WAY overpriced but the line has a lot of nice quality products. My advice: wait for a sale (the paints especially go on sale a lot at my local Michaels & Joann Fabrics) OR check out stores such as Marshalls or TJ Maxx.. the last time I was at TJ Maxx they had Martha Stewart packaging kits (adorable for candy & cookies) for 10% of the price they were selling them at Michaels (which happened to be right next door... awkward).


I'm obsessed with Martha Stewart craft paint because the dried paint is extremely true to the color on the bottle. I hate when I buy what I think is a hot pink and end up with a sad orange. No such fear when it comes from Martha! The paint also covers evenly in only a few coats and comes in a variety of adorable colors. I love all the matte paints and the glitter ones as well (although glitter takes a few more coats). I can't wait to try the chalkboard paint!

Using Martha Stewart craft paint you can create this adorable jewelry box!


Supplies:
-Wooden Jewelry box (I got mine at Michael's)
-Wooden cut-outs in fun shapes (great selection at Pat Catan's and Hobby Lobby)
-Martha Stewart craft paint (any kind/ color)
-Brushes
-Tape

Step One: Paint the whole box a base color such as white or cream- this makes the colors more vibrant.

Step Two: Paint away! Use painter's tape to make striped or other designs (or to keep edges clean). Make sure that all the paint is dry before closing any drawers or lids!! Wet acrylic will stick like glue!

Step Three: decorate wooden shaped and glue onto box! I made this for my little cousin's birthday!