
Showing posts with label crafting. Show all posts

Friday, March 15, 2013

The Great Big St. Patty's Day Post


Well, it's March- the month where everyone is Irish. Give me green, glitter, and Shamrock Shakes! Celebrate in hipster style with these adorable mustache straws :)


 Supplies: 
-Sheets of glitter paper (I got one in light green and one in dark green)
-Scissors
-Standard Hole Punch
-Straws that bend
-Pencil/ pen

 Step One: On the back side of the glitter paper draw a mustache. The easiest way to do this is to draw two circles right next to each other. Then draw triangles on either side of the circles and add a curly shape to each end. You can also just print one out from clipart, cut it out and use it as a stencil.


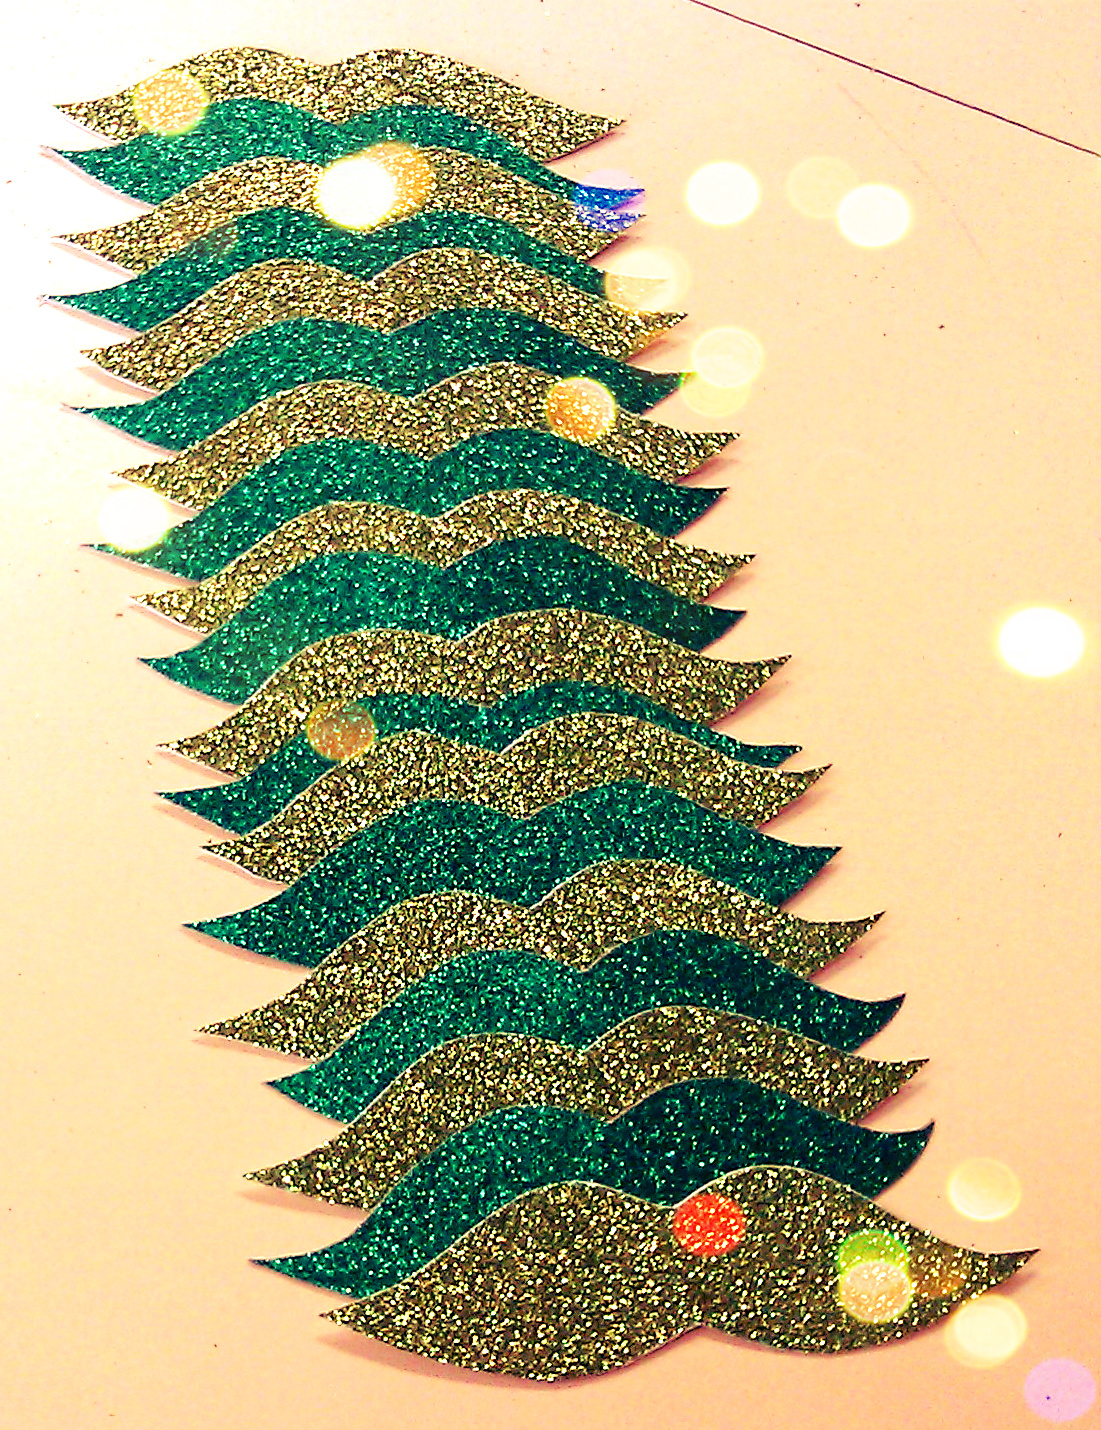
 Step Two: Cut out your mustache and trace it however many times you would like on the back of the glitter paper. Cut out all of your mustaches.


 Step Three: Punch a hole in the center of your mustache. Place each mustache on a straw with the glitter side facing away from the end you drink from. Now you can be a super-hip glittery leprechaun every time you sip your Guinness on St. Patty's Day :D


 I also prepared a few other crafts for the holiday. I made this floral headband using paper flowers I picked up from the scrapbook section at Michael's and soft elastic (left over from making no-crease hair ties). I sewed the flowers in color gradation along the front of the headband. Make sure if you're using paper flowers that you really securely sew them to the headband. The paper rips easily.
 It's comfy, cute, and reminds me of Spring (which I need, since it's snowing in Pittsburgh right now). 


Some Ombre St. Patty's Day nails I did using a make-up sponge & gold glitter!


And of course it wouldn't be a holiday without decorated bowling pins! :)


And here's the sweater I'm wearing (kind of a mixture between my hunger games tee and rib cage sweater) Shamrock elbow patches! :)


Monday, December 31, 2012

DIY New Years Glitter Pouch Favors


It's almost New Years and for me that means one thing.. it's time for GLITTER! I made these cute little glitter pouches for my friends to throw up when the clock strikes midnight!

Supplies:
-Glitter, Confetti, Sequins
-Glitter Paper
-Hole Punch or Pattern Punch
-Mini Bags
-Decorative Paper
-Stapler & Staples
 -Marker


Step One:
-Pour all matching glitter/ sequins/ confetti into a bag and shake!
-Optionally you can make your own confetti by punching holes (or other shapes) from glitter paper!


Step Two:
-Separate glitter mixture into little baggies (a small amount will do fine)


Step Three:
-Write out a little poem or design and staple it to the top of the baggies. 
-I wrote on mine: 
"The Clock Strikes 12
Everyone Cheers
Now throw your glitter-
Happy New Years!"


Now pass out and enjoy! Happy New Years everyone!!


DIY Glitter Heels


I saw a tutorial for DIY glitter heels a while ago on Pinterest.. and I loved the idea, but the process involved layers and layers of Mod Podge and TONS of loose glitter. Now, I love Mod Podge but it takes forever to dry and gets all sticky and I really don't think I have the patience to do an entire pair of shoes. So I found an easier way!


Supplies:
-An old pair of heels (mine are from Target)
-A can of Krylon Glitter Spray in a SIMILAR color to your shoes (it's much easier to make the shoes look)
-Krylon Glitter sealant

Step One:
-Prepare!
-Make sure there isn't any dirt on your shoes
-Lay down newspaper in a well ventilated area- the glitter will get everywhere.


Step Two: 
-Spray Shoes with glitter. Seriously it's that simple.. put your hand inside the shoe and evenly spray the shoe while steadily turning it.
-Let the shoes dry, assess how glittery the shoes are, add another coat of glitter if desired (check for missed spots too).


Step Three:
-Spray shoes with Krylon Glitter sealant for protection and voila!

There's no place like home!