

There's nothing quite like Halloween- costumes, fall, pumpkins, and lots and lots of candy. So to celebrate my favorite holiday I'm bringing you a craft obsession post that is strictly Halloween themed!!
A really easy and simple way to make DIY decorations is just to buy wooden bases at your local craft store. I purchased these adorable coffin boxes for my niece and nephew, a "Happy Halloween" wooden cut out, and a hanging pumpkin! All from Michaels!
We all know my favorite craft paint is Martha Stewart's so I stocked up on some great halloween colors!

(when you open the coffin boxes they scream "Muahahaha"- I know, awesome)

(First time trying pearlescent paint- awesome)


The coffins I layered with the Martha Stewart Paint- as always, make sure you the boxes stay open until the paint dries so that they aren't sealed such (it got a little annoying- the boxes wouldn't stop making spooky sounds).
I used White Tulip Puffy paint to make the slightly dimensional skeletons and FolkArt glow-in-the dark paint to outline some of the details.


For the "Happy Halloween" sign I just used an array of paints and patterns!


Finally, I covered the hanging pumpkin in scrapbook paper using Mod-Podge and painted on a cute little pumpkin face!


And everyone's favorite Halloween craft: pumpkins! Although this year I opted for painting instead of carving- and made it "Happy Autumn" so I could keep it out all season!


And here are some of my favorite Halloween pictures- brought to you by instagram :)
HAPPY HALLOWEEN EVERYONE!!!!


I just love dogs in costumes...

^Buddy


and Samson Puppington.
Some of my favorite Halloween (and just because) Costumes...
Ginny Weasley (Samson Puppington went as Sirius Black):


Zombie Apocalypse:


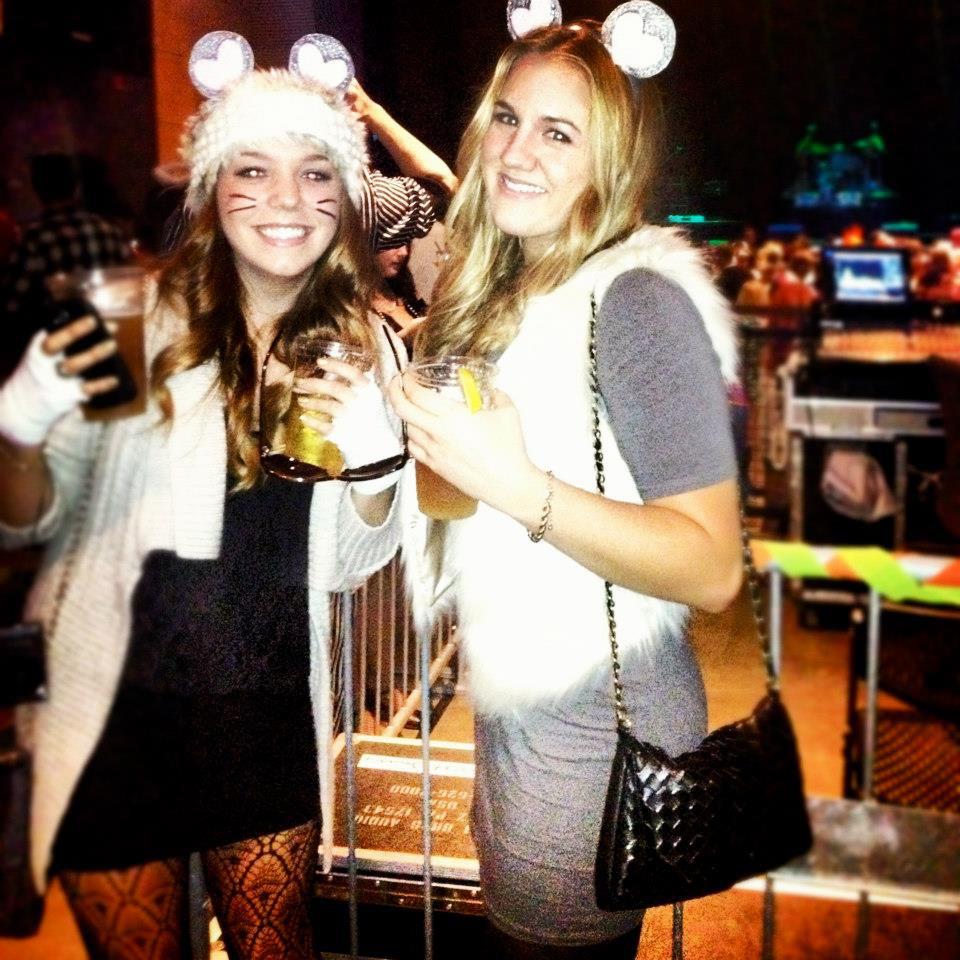
3 Blind Mice:


Special Edition Pink Cinderella (I was that cool) & a 50s waitress:


Raggedy Ann:

Scarlet O'Hara:

Power Rangers:

Ke$ha & Miley Cyrus:

Beanie Babies (I was the deer):

HAPPY HALLOWEEN!!!!!!


