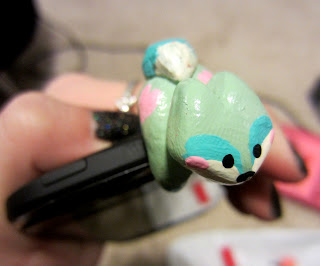
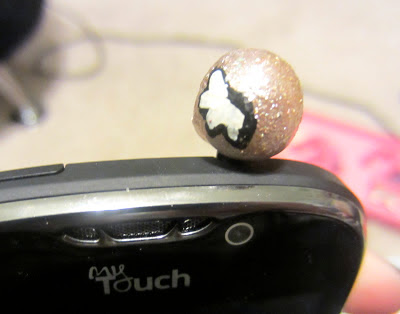
Want an adorable way to decorate your phone, mp3 player, or tablet? Try making one of these adorable dust plugs that not only snazz up your device but also protect its headphone jack!
What you need:
- An old pair of headphones, pliers, scissors
-OR-
-Rubber headphone jack plugs (I found mine on etsy: try here)
-Polymer clay (neutral color) & an oven
-Clay working tools
-Optional clay molds (try Martha Stewart)
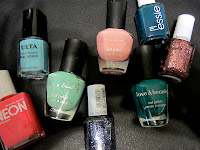
-Nailpolish -OR- Acrylic craft paint & a protective glaze
-Super glue (for use with rubber plugs only)
Step One:
-If you are using an old pair of headphones, use the pliers and scissors to cut out the headphone-jack. You want only the solid metal piece that goes into the jack. If you purchased plugs then you are already ready to go (I purchased my plugs because I wanted to make a lot)
Step Two:
-Make your clay topper. Clay can be kind of hard to work with at first. Warm up clay by rolling it in your hands for a few minutes. This will make it much more malleable and easy to work with.
-To make these bows I used a Martha Stuart mold. To use a mold press the clay firmly into the mold. Watch out for folds or bubbles in the clay. Remove excess clay around mold and make sure that the back is flat. Remove clay carefully from mold. Cut off any over-flow. If you're free-form sculpting just make sure the bottom of the object is flat so that it sits nicely on your phone.
Step Three:
-If you are using the metal plug from an old pair of headphones- gently push the plug into the center bottom of your clay object. Make sure the clay covers the plug until the part where the plug enters the phone. You want the charm to sit right on top of your phone. Feel free to test this out, just be gentle with the clay part. You may have to remold the clay a little bit after inserting the plug.
-If your are using rubber plugs- Follow the same steps as above but then you must remove the plug carefully(the rubber can't go into the oven). When touching up the charm, make sure not to change the hole made by the plug- you want the plug to fit it snugly.
Step Four:
-Bake the clay according to instructions. It's okay if they burn a little on the outside, we're gonna paint them!
-Try using tinfoil to prop the charms so they don't get any flat edges.
-Let clay cool completely
Step Five:
-Paint & Decorate! I used nail polish to paint mine and then there's no need for a glaze. If you're using acrylic paint you will need to seal the paint- clear nail polish makes an excellent cheap glaze!
Step Six:
-If you used the rubber plugs you will need to glue the plug into the hole. Super glue works great!
-Let glue dry completely before trying in phone- you don't want to accidentally glue the plug in permanently!!
Once the glue dries you can plug them into anything with an earphone jack!!
Package them up and give as a really sweet & unique gift!!
Check out the free-form dust plugs that I made:
- I used the same methods as listed above, but instead of using a mold I just free-handed the designs :)
Tabby Cat Plug:


Little Green Fox Dust Plug:
Calico Cat Dust Plug:
Golden Snitch Dust Plug:
Various Cupcake Dustplugs:
Wee Purple Owl Dustplug:
Hope you enjoyed them!


cute post erin. except as a crafter you should know it's spelt martha stewart*, not stuart!
ReplyDeleteNice catch! Whoops!
Delete